Previous
|
Next
|
Gallery
(4 of 11)
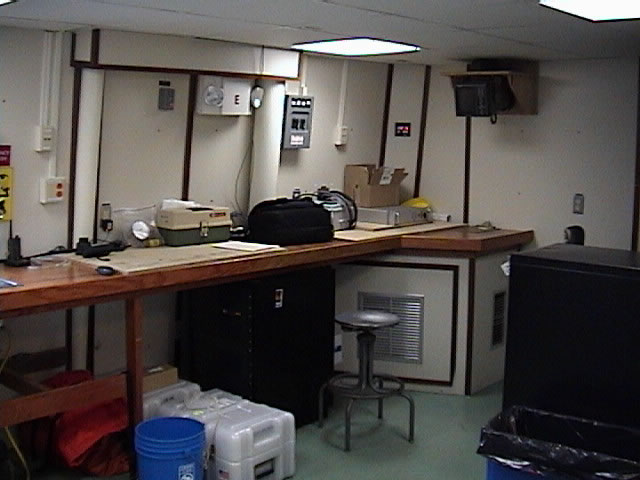
Dry Lab